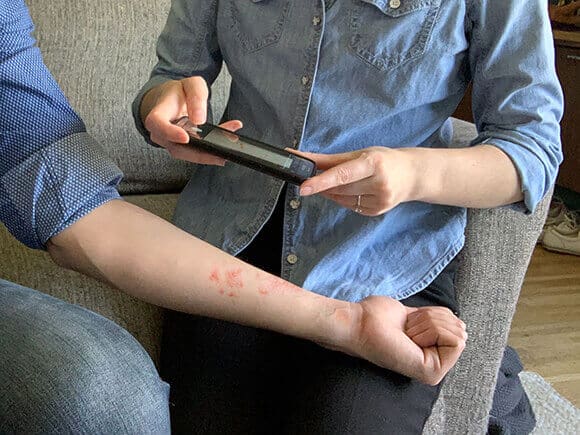
If you are attending a video consultation with us, you will have been asked to take and send us some photos of your condition ahead of your appointment. The photos you send will be reviewed by your Doctor, so sending clear, high quality images is really helpful. We ask you to take two images per lesion or area of concern, one close up and one from around one-two feet away. It can be tricky to know how best to take these photos. Follow our advice and top tips on how to take high quality photos for your video dermatology consultation.
OUR TOP 5 TIPS
1. Ensure the photo is well lit so the lesion can be clearly seen. Natural light is the better than artificial light.
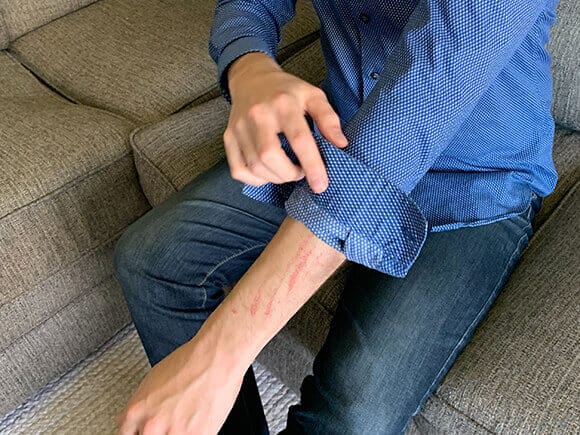
2. Remove any distractions. The image should be just of the skin and lesion in question. Removing jewellery, having a clear back ground and not having clothing in the way will help.
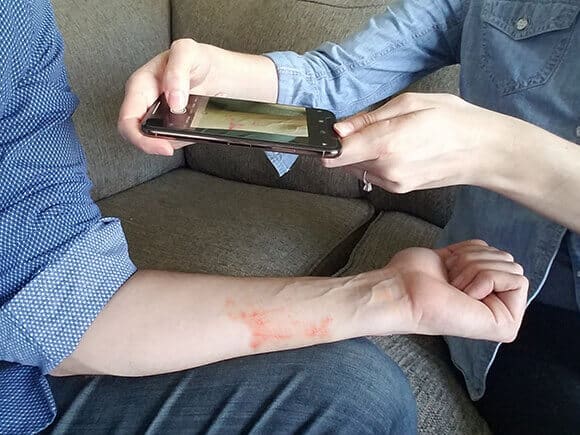
3. Avoid a blurry image by holding the camera steady with two hands. You may need to ask someone else to take the photo for you.
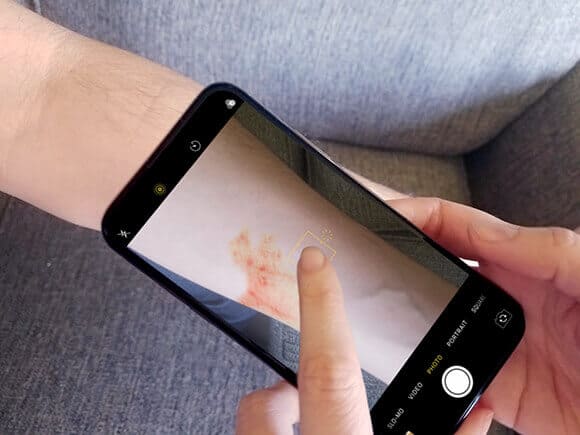
4. Make sure your photo is in focus. If you are using a mobile phone to take your photos, you camera app will allow you to pinch the screen to zoom in until it is in focus. If you are using a digital camera, slowly press down on the capture button and the screen should focus. If your photo is blurry, please try again and retake the image.
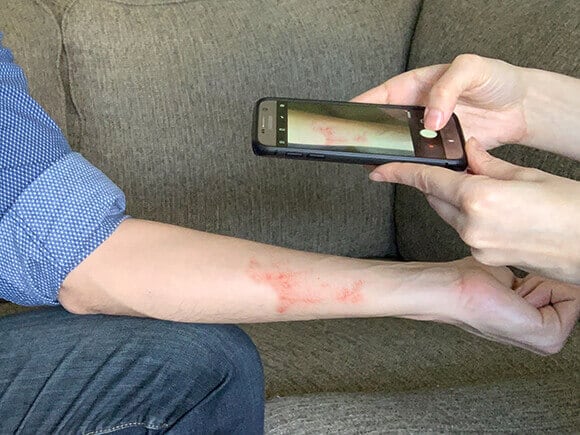
5. Make sure the image is taken parallel to your skin. Hold your camera in parallel (flat from your skin) so the image is not angled up or down. This will help the image not to appear warped.
THINGS TO DO WHEN TAKING PHOTOS
- Have a neutral background
- Take your photo at a good angle
- Take photos from more than one viewpoint
- Take a close up, medium and wide photo of the lesion
THINGS NOT TO DO WHEN TAKING PHOTOS
- Have a busy, cluttered background
- Take the photo at an odd angle
- Have distracting clothing or jewellery
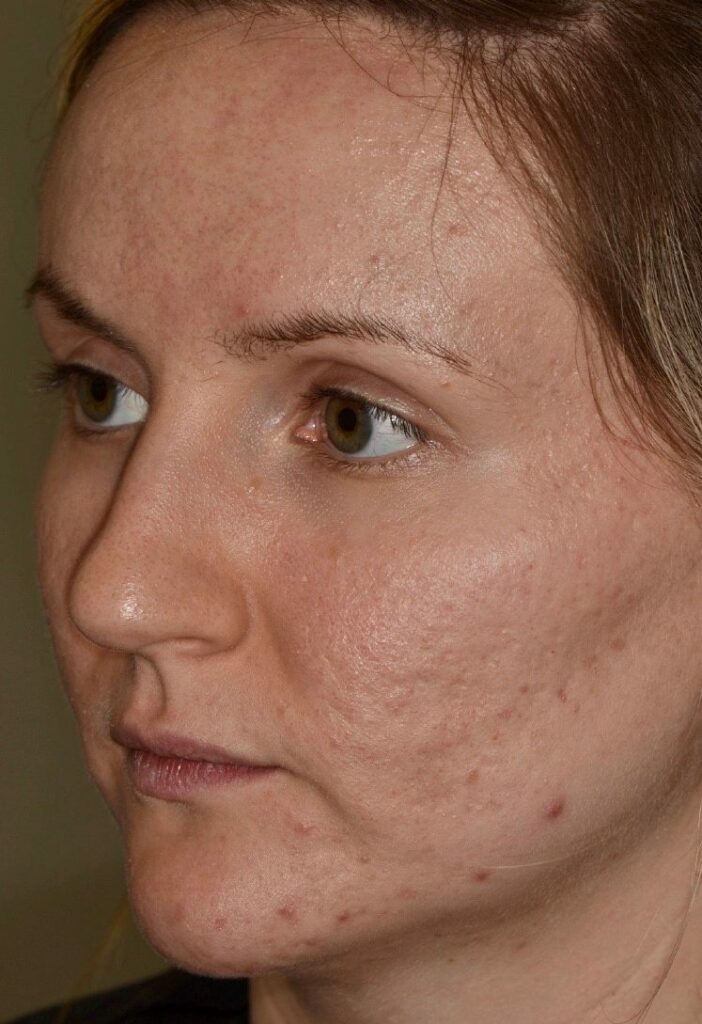
WHAT IF I NEED TO TAKE PHOTOS OF MY FACE?
If the lesion in question is on your face, we would like to see a few different photos, you may need to ask a partner or family member to help you take these photos. Firstly, we would like to see three standard pictures showing the entire face.
- A photo taken straight on from directly in front of you
- A photo of the left side of the face taken at approximately 45 degrees which lines up the tip of nose with the other edge of the cheekbone
- A photo of the right side of the face taken at approximately 45 degrees which lines up the tip of nose with the other edge of the cheekbone
- A close up of the lesion, following the advice on how to take a photo of a lesion given above
HOW TO SEND YOUR PHOTOS TO THE CLINIC
Please email your photos, alongside your patient number to the clinic. The email address and your patient number will have been provided to you in your confirmation email. If you are unsure of the email address or your patient number, please give us a call.
When sending over your images, it is important to make sure the image quality is high so your doctor is able to review your images and provide a diagnosis. It is recommended that the image size/resolution should be a minimum of 2000×15000 pixels. When emailing photos from your phone, there is often a drop down option asking you which size to send your emails before clicking send. The options will be small, medium, large or actual size. We recommend you send the images in large size. If your phone doesn’t have this option or you are emailing your photos from another source, try your best to ensure the image is of a good size and quality and the team at the clinic will be in contact with you if we require you to try and send your photos through again to improve the image quality.
NOT BOOKED YOUR VIDEO CONSULTATION YET?
Please fill in this form and one of our team will give you a call back to arrange a consultation with one of our expert dermatologists.